
Climbing can be incredibly simple for beginners- do your best to get to the top, and lean back to come down. To progress past that though, you need to pick up some special techniques and strategies. These tips will help you to progress more quickly.
Here are 13 Tips for Beginning Rock Climbers:
- Use Your Legs
- Hang From Your Frame
- Don’t Overgrip
- Read The Route
- Keep Your Feet Happy
- Swallow Your Ego
- Practice Falling
- Strengthen Your Core
- Stretch
- Mountain Project
- Don’t Overspend On Gear
- Have Fun
- Learn Climbing Ethics
Sometimes you read or hear tips from expert climbers, and roll your eyes a little bit. It’s been a LONG time since any of them have started climbing, or even climbed with a beginner. These tips are things that you will pick up during your first few years of climbing that will help you climb harder, and have more fun.
Tips for Beginning Rock Climbers
Use Your Legs
You know the advice that everyone gives when you’re about to lift a heavy box or piece of furniture? “Lift with your legs, not your back!” Then you proceed to lift with your back because it’s more convenient. Climbing can be a lot like that.
Your legs are used to carrying the weight of your whole body- they can do it all day. Your arms? Not so much. As a beginning climber, you can probably only do a handful of pull-ups if you’re lucky. Fortunately, a lot of climbing routes-especially those in the beginner-to-intermediate range have ample footholds.
Use your arms to balance yourself, but try to let your legs do the heavy work! Most beginner climbers (including me) basically do pull-ups to get up the wall. You get tired really fast, and can only climb routes with big, nice handholds.
Focus on placing your feet and only using your hands to steady yourself. Learn to trust your shoes early on, and you’ll be able to climb longer and harder.
In the military, they actually teach soldiers to never lift their hands above their heads. This way you can’t really pull yourself up, and you’re forced to use your feet.
If you do this, you can basically last forever on the wall. Obviously this won’t work on more difficult routes, but it’s a good thing to keep in mind as you’re working on technique.
Pro-Tip: Climb like a ballerina. Try to climb on your tip-toes instead of placing the ball of your feet on the holds. Climbing shoes are designed to be rigid enough that the sole will support all of your weight on one little spot- that’s why they need to be tight. Be deliberate with your footwork, a practice we call “Quiet Feet.” Don’t drag them across the wall or reposition them 4 or 5 times.
Hang From Your Frame
Try something out- go find a pull-up bar or door frame and see how long you can hang. First try doing half of a pull-up and hanging up as long as you can. Next, try hanging with your arms extended all the way.
You’ll find that you can hang a lot longer when your arms are extended all the way, because you’re using the strength of your frame to hang on instead of your muscles.
Either way, your fingers are getting a workout. Your fingers will be just as tired hanging from your muscles or your frame, but your frame will last longer than your muscles will.
This goes along with the previous tip for using your legs- when you have to hang from your arms, hang with your arms extended instead of bent.
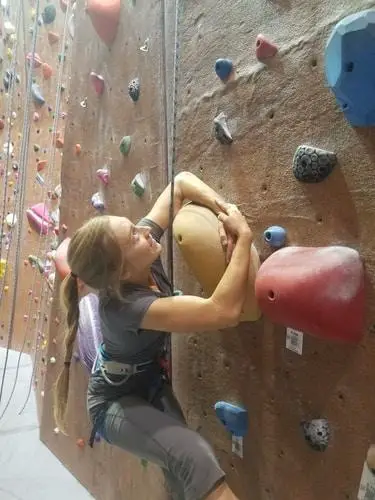
Don’t OverGrip
Pick up a dumbbell or other heavy object in your hand and grip it as tightly as you can. Now, hold it as loosely as you can (without dropping it on your toes). A very common beginner problem is to overgrip the holds.
I get it- you’re freaked out and your body is in fight-or-flight mode because it doesn’t understand to trust the rope yet. This instinct has protected our species for thousands of years!
You have to overcome the natural tendency to grip the hold with all of your strength and focus on holding it with just enough strength to not fall off. As you learn to climb loose, you’ll find that you can climb a lot longer and you won’t get as worn out. Your forearms won’t feel like they’re on fire the day after a gym session either!
See if you can adjust your body so that you are pulling perpendicular to the hold. This will allow you to grip it with less force, since you’ll maximize rock’s features. Good luck driving home at the end of the day after overgripping and burning out your forearms!
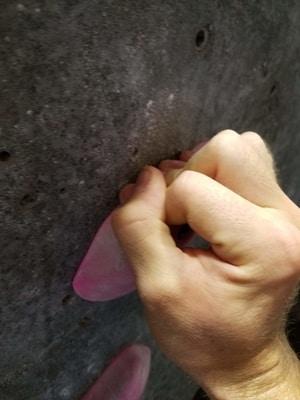
Pro-Tip: Learn to crimp. Some holds are so small that you can just barely get your fingertips on them. Position your fingertips on the hold, and then wrap your thumb around to help secure your position. The strength of your thumb can help supplement your fingertips and can give you the edge that you need to get past the hold. Pay attention to how your arms feel though, since crimping can hurt your tendons more than your muscles. Tendons take a lot longer to strengthen.
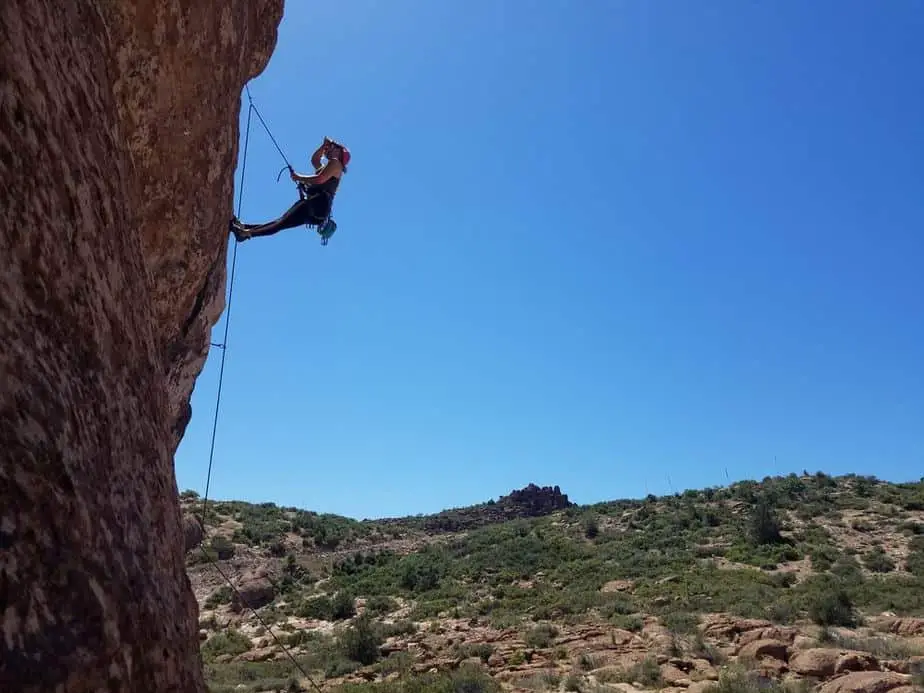
Practice Falling
The biggest barrier holding climbers back is the fear of falling. It doesn’t really feel natural to free fall a few meters, so we avoid it at all costs. This means tedious downclimbing, climbing softer routes than we could feasibly do, and overgripping along the way.
The best way to get over this (semi-rational) fear is to take a bunch of practice falls. Climb up 10 feet (3m) or so on top-rope, have your partner let out a little bit of slack, and push away from the wall.
Feel that the rope has got you. Then climb up another 10 feet and try it again. As you repeat this, you’ll gradually overcome your debilitating fear of heights.
It’s important to always maintain a healthy fear, or respect, for heights, but it shouldn’t get in the way of your climbing. As you practice falling, practice falling away from the wall and not getting tangled up in the rope. It’s also important to practice belaying a falling climbing, so swap turns with your partner.
Pro-Tip: Use Logic. One thing that can really help is to think through the capacity of the gear that you are using. Different studies have found that the maximum amount of force a falling climber can exert is 5-6 kN (kiloNewtons). Your UIAA carabiner can hold 20+kN’s, and your rope can lift a car. The gear isn’t going to fail, so learn to trust it!
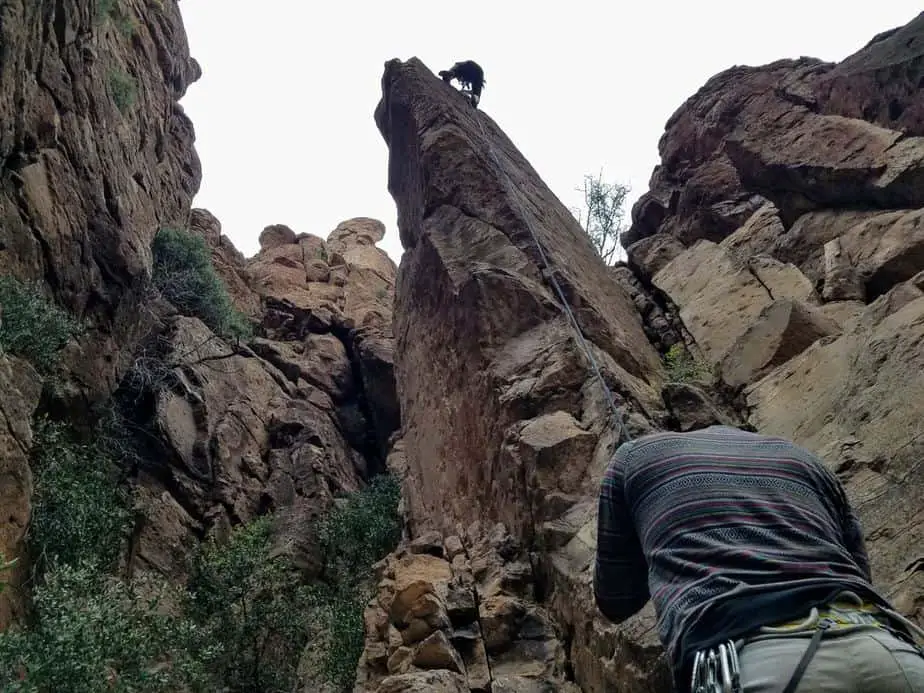
Read The Route
Don’t just run at the wall headfirst. Take a few minutes to plan out your first few moves and try to identify the crux (hardest part) of the route. This is usually pretty easy in the gym, but can be difficult to find from the ground when you’re outside.
It’s a lot easier to make a plan when you’re on solid ground than it is when you’re up in the air hanging from your fingertips. You’ll have a better view of hidden footholds- especially around corners and under overhangs. Look for places to rest and chalk up where you can stand on a ledge or execute some sort of knee bar.
You can get various levels of information at the start of your climb, called beta. It can consist of a guidebook telling you how to execute the crux of the route, or a partner pointing out how she did it.
Pro-Tip: Onsight vs Redpoint. As you get more into climbing, you’ll start looking for ‘style points.’ Some of the most common are the way that you get to the top. An Onsight attempt is when you climb a route without having seen someone do it or getting any beta. A Redpoint is when you climb it after seeing someone else do it or after getting some tips.
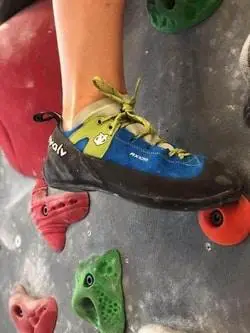
Keep Your Feet Happy
Climbing has a reputation for the most uncomfortable shoes in the world. Back in the day, it was a point of pride and climbers tried to squeeze their feet into the smallest shoes possible- sort of like Cinderella.
In the last few years we’ve backed off a little bit and adjusted the shape of shoes instead of just downsizing and cinching them up as tight as possible.
Your shoes shouldn’t be ‘comfortable,’ per se. Your feet should go all the way to the end and even curl up just a little bit, but you shouldn’t have to limp around. You shouldn’t end up with black toenails and there shouldn’t be an audible gasp when you take your shoes off after a route.
You will definitely climb better with tight shoes. Tight shoes help shift the weight of your body onto the balls of your feet and your toes mashed together instead of the full length of your toes.
This makes it so you can balance on small holds and so you won’t require as much foot strength. If they’re too tight though, you’ll just be miserable.
Pro-Tip: Aggressive shoes. When you’re ready to take it to the next level (5.12 and above), get an aggressive pair of shoes. The toe is more hooked than intermediate shoes, which helps you balance on even smaller holds. They aren’t super comfortable to walk around in, but are unmatched on the wall.
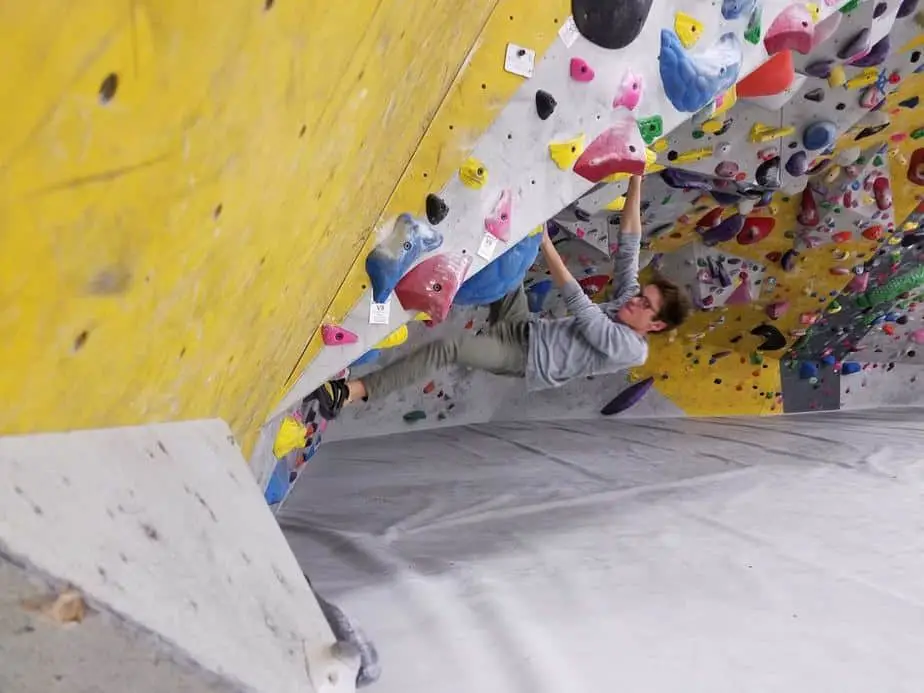
Swallow Your Ego
One thing that can really get in the way of progress for climbers of all levels is ego. What I mean is that climbers are afraid to try routes that are too hard in the fear that others will see them fail. We can easily get stuck in a rut of climbing the same 5.9 or 5.10’s over and over again because, while they’re challenging, we know we can do it.
In order to move on to the next level, you have to be ready to fail! You have to try routes that are definitely above your comfort level and climb with the intent to fall.
Your goal doesn’t need to be to send a 5.14, but there is a lot of internal reward for mastering difficult routes when you get into the 5.12 range. Instead of just being able to get up anything, you have to practice certain moves and be more creative.
Along with trying hard things, you should try to climb with people who are better than you are occasionally. They will inspire you to see that the difficult stuff is possible, and will be able to give you pointers.
It’s hard, from a pride perspective, to admit you can’t climb the same difficult routes others are climbing, but it can really help you to progress.
Pro-Tip: Take a few minutes to watch the youth climbing teams. I’ve seen many 12-year old girls and boys climb harder things than I can. Their technique is exquisite, and their fear is minimal. Most of them climb like they have nothing to prove, and we can learn a lot from that.
Strengthen Your Core
I’m not saying that we all need to have a 6-pack, but strengthening your core will take a lot of the stress off of your arms. Look at professional climbers- they’re all lean and ripped.
Obviously anyone who can climb a ladder can climb an easy climbing route, but progression requires some level of fitness beyond that. Strengthening your core will help you to lift with your legs instead of your arms, and will help you to be a lot more precise with your movements.
One of the best core-strengthening exercises for climbers is reverse crunches. Hang from a pull-up bar or door frame with your arms fully extended and use your abs to lift your knees up to your waist level.
You’ll feel your core engage, and it’ll feel great. This is a great exercise because it is very similar to movements that you’ll actually do in climbing.
Planks are also very beneficial. They strengthen your abs and your back, which helps you to to stay in control while on the wall. More core control means that your movements will be more precise.
Stretch
Spend 10 minutes warming up before you hit the wall. It helps to get the blood flowing to your extremities (like your fingertips that will hold you to the wall) so that you can last a lot longer. Do some dynamic stretching, bouncing back and forth, to get ready for a good gym session.
At the end of the day, do some static stretching to cool down and reduce your muscle strain. Different types of yoga can help you to be less sore the next day, which means you’ll be ready to hit the gym again sooner.
Mountain Project
I started climbing outside long before the REI-sponsored Mountain Project App was a thing. At that time, your choices were either to go climbing with a friend who knew the area, or to find a guidebook that happened to include the specific crag. Now, we have Mountain Project.
Mountain Project has user-submitted information on crags all around the world. It’s not perfect, doesn’t have every single route and is sometimes off a little bit, but it definitely helps new climbers to not bite off more than they can chew.
One of the best features is the forum section, which includes things like a partner finder to help you meet up with other climbers. You can usually find bargains on used gear and helpful beta for local areas as well.
Don’t Overspend On Gear
One thing I see over and over again is new climbers thinking that the most expensive Black Diamond harness will help them to climb two grades harder, or that a $150 pair of shoes will somehow make up for their lack of technique. Don’t get me wrong, you do need good solid gear in order to be safe and climb well; but there is no reason to overspend on it starting out.
The nice thing about climbing gear is that it all has to be tested and rated by the UIAA. The gear all goes through the same certification process, so anything that gets the stamp is safe. Some gear, carabiners for example, do have slightly different strength ratings due to materials used and manufacturing techniques.
At the end of the day however, if you can only exert a 6kN force on a carabiner, it doesn’t really matter if it is rated up to 22kN or 30kN. With that being said, NEVER buy gear that has not been rated for climbing.
When you buy more expensive gear, you’re usually paying for lighter-weight stuff (not really important for beginners or even intermediate climbers) or paying for big brand names. To me, I’d rather rely on my own climbing abilities than the hope that a big brand name will help me get up the wall.
If you’ve got extra cash sitting around, sure you can go ahead and buy the flashiest gear. But when the speed limit is your own capabilities, it won’t matter whether you’re driving a Porsche or a Honda. Get the gear that you need, and then get to work! Don’t blame the shoes until you look like Adam Ondra.
Take a look at our recommended gear guide for a list of what you really need in order to climb indoors- Indoor Climbing Essentials .
.

Have Fun
After climbing for a little while, you might get discouraged if you aren’t improving your grades. Odds are, you’re never going to be a competitive, paid climber (I know I won’t be).
It feels good to progress and learn new techniques, and there’s no better feeling than sending something that would have been impossible to you a few months earlier. Don’t let the pursuit of harder grades get in the way of having fun though.
Take the time to appreciate the ability to make it up the wall safely, the friendship and environment at the gym and at crags, and how capable your body is at doing hard things.
Share the fun with others by bringing them along to try it out for the first time. It can be really beneficial to take other people climbing, and shows you how far you’ve come!
Learn Climbing Ethics
As with all activities, there are certain ‘unwritten rules’ that you pick up as you go along. Here are a few of them that you need to know when you start out.
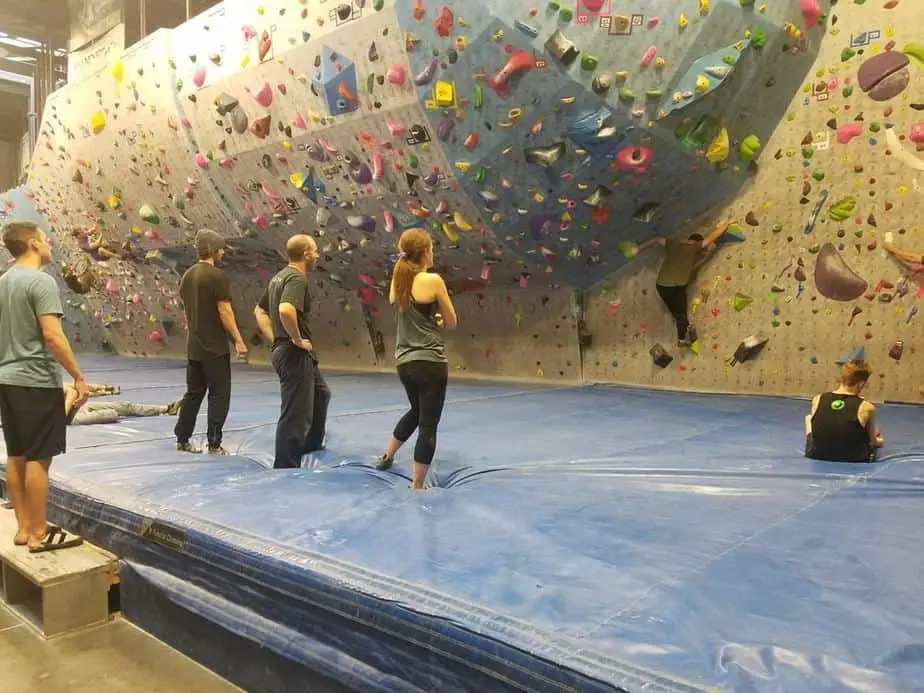
- Don’t walk underneath climbers or boulderers- You never know when someone is going to fall, so don’t ever go underneath them.
- Don’t Top-Rope through fixed gear- Add your own locking carabiners or quickdraws to the anchor, since top rope climbing can prematurely wear through permanent anchors.
- Don’t spray beta- Unless the climber specifically asks for help, don’t shout out that there’s a foothold right above their right knee.
- Leave no trace- When climbing outdoors, stay on trails, pack out all trash, and don’t smash the plantlife.
- Don’t hog a route- If you’re climbing in more than 3, be aware if others want to climb the same route and offer to switch out or take a break.
Related Questions
How Expensive is Climbing? A day pass to a climbing gym costs $15-20, plus $5-10 for gear rentals if you need a harness and shoes. Buying your own gear for sport climbing costs about $300 to start out.
How Many Carabiners Do I Need For Climbing? You only need one locking carabiner for indoor rock climbing. For sport climbing you really only need one or two, in addition to 12 quickdraws. More carabiners are useful, since they can be used for a lot of things.
Is Rock Climbing Hard For Beginners? The hardest part about rock climbing for beginners is the fear of heights. Physically, anyone who can climb a ladder can go rock climbing because routes come in different difficulty levels, but it can be mentally difficult to get off the ground.
